“Have you ever struggled to find a truly authentic fry bread recipe?” As a culinary enthusiast raised in Napa Valley and trained at Le Cordon Bleu, I know how hard it is to separate modern shortcuts from tradition. That’s why I spent years learning from Navajo elders—because an authentic fry bread recipe isn’t just about ingredients; it’s about heritage. My great-grandmother’s journal taught me the same lesson: real fry bread needs no butter or yeast, just flour, salt, and patience. Whether you’re honoring family roots or discovering this staple for the first time, this recipe delivers crispy, golden perfection—just like it has for generations. Let’s make it right, together.

Table of Contents
Table of Contents
What Makes This Authentic Fry Bread Recipe Special?
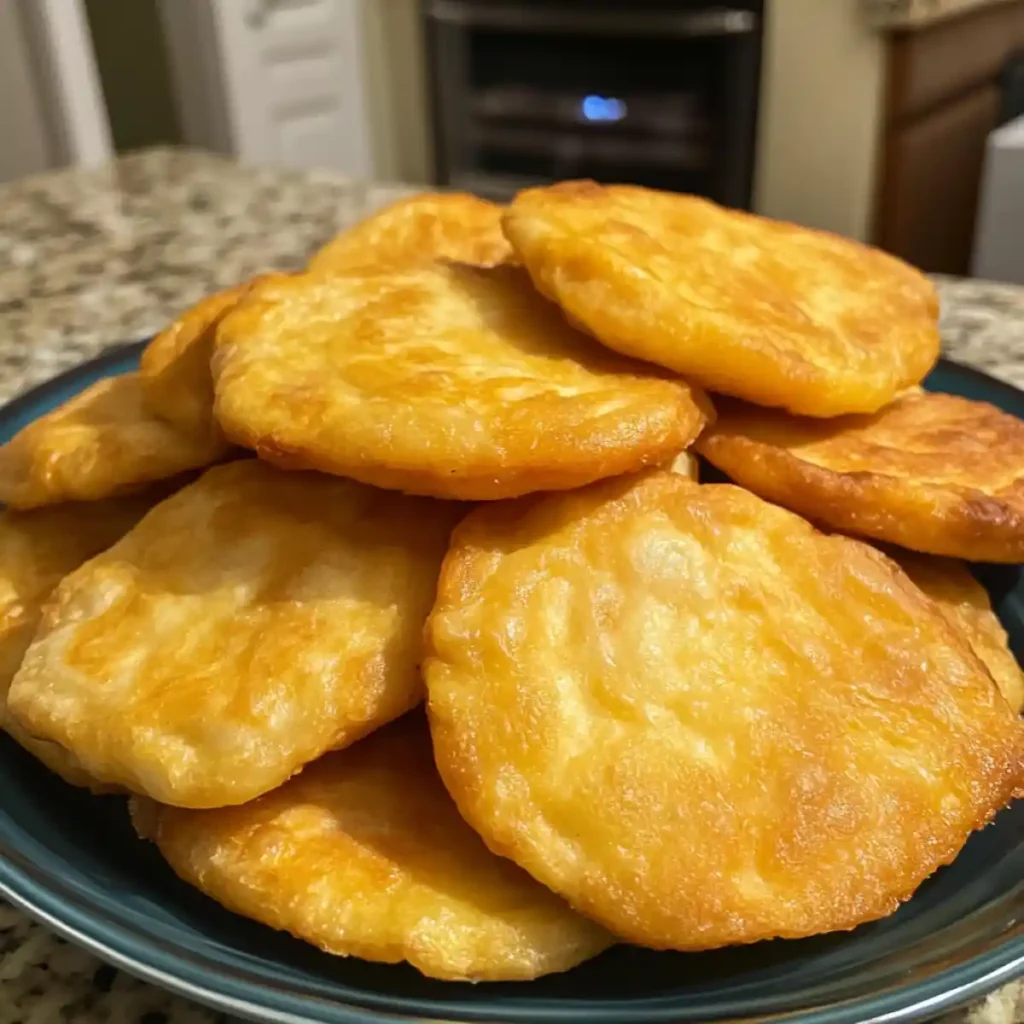
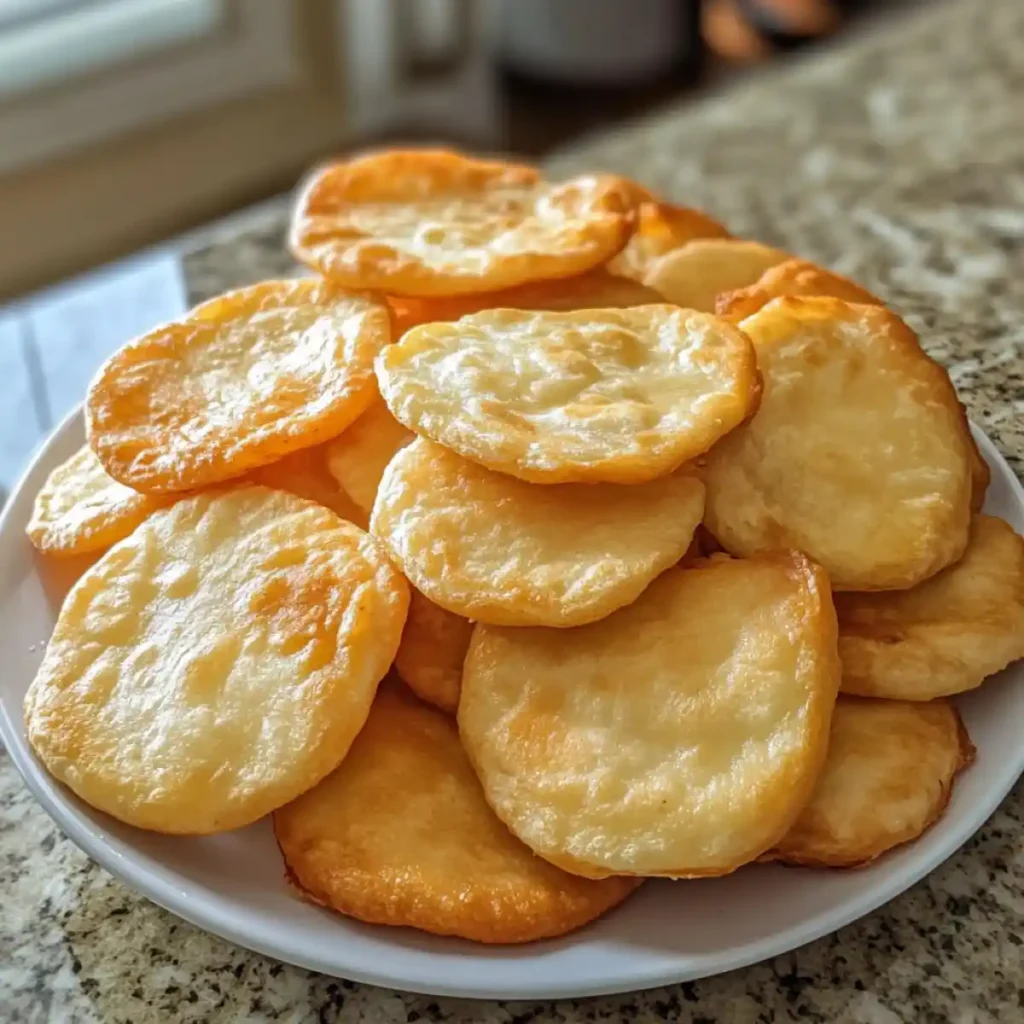
Let’s cut to the chase—what separates an authentic fry bread recipe from the rest? It’s not just about ingredients; it’s about heritage. This isn’t some modernized version with butter or eggs. Nope. We’re talking about the real deal—the kind passed down through generations, with crispy edges, a pillowy center, and a story in every bite.
Print
Authentic Fry Bread Recipe
- Total Time: 35 minutes
- Yield: 8 pieces 1x
- Diet: Vegetarian
Description
Crispy, pillowy Native American fry bread made with just 4 simple ingredients. Perfect for both sweet and savory toppings!
Ingredients
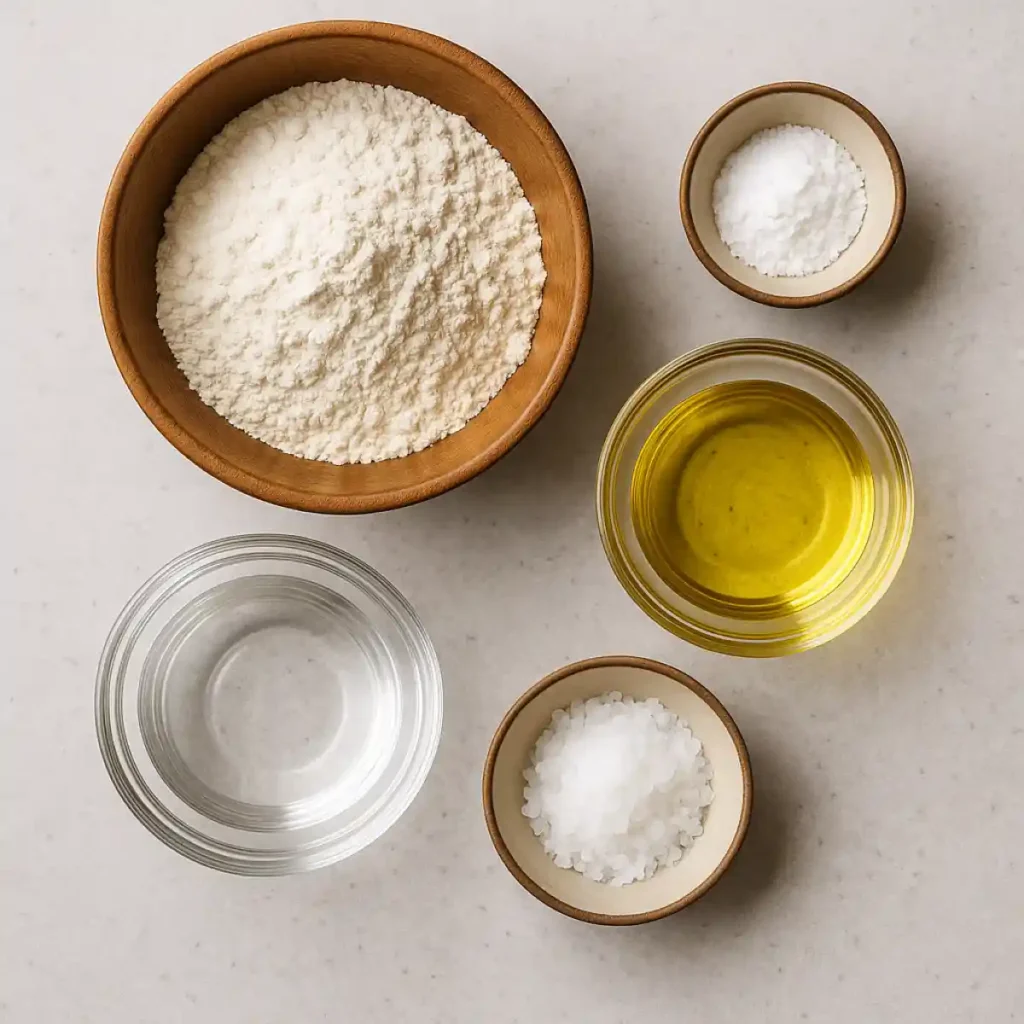
- 3 cups all-purpose flour
- 1 tablespoon baking powder
- 1 teaspoon salt (preferably flaky sea salt)
- 1 ½ cups warm water
- Vegetable oil or lard for frying (about 1 inch deep)
Instructions
- Mix the Dough
Combine flour, baking powder, and salt in a large bowl. Gradually add warm water until a soft dough forms. - Rest the Dough
Cover with a towel and let rest for 10 minutes. - Shape the Dough
Divide into 8 equal balls and flatten each to ¼-inch thickness. - Heat the Oil
Heat oil to 350°F (175°C) in a heavy skillet (preferably cast iron). - Fry the Bread
Carefully slide dough pieces into hot oil and fry for 2-3 minutes per side until golden brown. - Drain
Transfer to a wire rack or paper towel-lined plate to drain excess oil.
Notes
- For extra tenderness, add 1 tablespoon powdered milk to dry ingredients
- Store leftovers in a paper bag at room temperature for up to 2 days
- Reheat in a dry skillet or 350°F oven for best texture
- Prep Time: 15 minutes
- Cook Time: 20 minutes
- Category: Dinner
- Method: Stovetop
- Cuisine: Native American
Nutrition
- Serving Size: 1 piece
- Calories: 210
- Sugar: 0g
- Sodium: 290mg
- Fat: 8g
- Saturated Fat: 1g
- Unsaturated Fat: 6g
- Trans Fat: 0g
- Carbohydrates: 30g
- Fiber: 1g
- Protein: 4g
- Cholesterol: 0mg
A Legacy of Simplicity
If you’ve ever had fry bread at a Navajo gathering, you know it’s more than food—it’s history on a plate. Born from necessity during the Long Walk of the 1860s, this humble dish turned government-issued flour, salt, and baking powder into survival. Today, it’s a symbol of resilience. Just like fry bread, many traditional recipes rely on pantry staples. If you’re exploring such options, check out this cornbread recipe with no flour—simple, hearty, and gluten-friendly.
Why do these basic ingredients matter? Because authenticity doesn’t overcomplicate. You’ll need:
- 3 cups all-purpose flour (no fancy substitutes—this is tradition).
- 1 tbsp baking powder (the lift behind that perfect puff).
- 1 tsp salt (I swear by flaky sea salt for texture).
- 1 ½ cups warm water (some use milk, but we’ll get to that later).
Pro tip: The dough should feel soft but not sticky—like a well-worn cotton apron. Overmix, and you’ll get tough bread; undermix, and it falls apart. It’s a Goldilocks situation.
Tribal Variations and Honoring Tradition
Every authentic fry bread recipe tells a story, and no two tribes make it exactly alike. The authentic fry bread recipe we’re focusing on honors Navajo traditions – thick, pillowy rounds perfect for savory or sweet toppings.
What makes this version special? It sticks to the basics that define an authentic fry bread recipe: no fancy additions, just the honest ingredients that sustained generations. While Sioux versions might be thinner and crispier, and some tribes add a touch of sugar, this Navajo-style approach keeps things beautifully simple.
Here’s a pro tip from my Lakota friend Sarah: a sprinkle of powdered milk adds tenderness without compromising authenticity. But whether you roll it thick for that signature chew or flatten it thin for tacos, you’re participating in a living tradition – one that turns simple ingredients into something extraordinary.
Step-by-Step Authentic Fry Bread Recipe
Ready to make magic? This authentic fry bread recipe is simpler than you think, but there are a few key tricks to get that perfect golden puff. What makes this authentic fry bread recipe special is how it stays true to traditional methods while being approachable for home cooks. Let’s walk through each step together—from mixing the dough to frying it just right.
Ingredients & Tools You’ll Need
First things first: gather your ingredients. For this authentic fry bread recipe, you’ll need:
- 3 cups all-purpose flour (the backbone of our dough)
- 1 tablespoon baking powder (our rising agent)
- 1 teaspoon salt (I prefer flaky sea salt for texture)
- 1 ½ cups warm water (some use milk, but water keeps this authentic fry bread recipe traditional)
Tools matter too! While any heavy pan works, a well-seasoned cast-iron skillet is the gold standard for authentic fry bread. Why? It holds heat evenly, giving you that perfect crispy exterior without burning – just like in traditional Native American kitchens. No cast iron? A heavy-bottomed stainless steel pan will do in a pinch.

Pro tip: If your dough feels too sticky when making this authentic fry bread recipe, add flour 1 tablespoon at a time. Too dry? A splash more water. You’re aiming for a soft, pliable dough—not too tough, not too slack.
The Foolproof Frying Method
Now, here’s where many go wrong with their authentic fry bread recipe. The secret to perfect authentic fry bread? Oil temperature control.
- Heat your oil: Pour about 1 inch of vegetable oil (or lard, for traditionalists) into your skillet. Heat it to 350°F (175°C)—use a thermometer! Too cool, and your authentic fry bread will be greasy; too hot, and it’ll burn before cooking through.
- Shape your dough: Divide into 8 equal balls (about the size of a lime). On a floured surface, flatten each to ¼-inch thickness. Don’t roll them too thin—we want some puff!
- Fry like a pro: Carefully slide one piece into the hot oil. It should immediately bubble around the edges but not violently splatter. Cook for 2-3 minutes per side until golden brown.
- Drain properly: Transfer to a paper towel-lined plate or—better yet—a wire rack. This keeps the bottom from getting soggy in your authentic fry bread.
Common mistakes to avoid in your authentic fry bread recipe:
- Overcrowding the pan (fry one at a time for even cooking)
- Flipping too soon (wait until you see golden edges)
- Using cold oil (it’ll soak into the dough)
Fun fact: My Navajo friend Maria taught me to listen for the “singing” sound—when the oil quietly sizzles around the bread, you know the temperature is just right for authentic fry bread.
Meanwhile, if your first piece isn’t perfect, don’t sweat it. Even seasoned cooks need a test round to adjust the heat when making authentic fry bread. By your third piece, you’ll be flipping fry bread like it’s second nature.
And here’s a bonus hack for your authentic fry bread recipe: Want extra-crispy edges? Gently press the center with your spatula during frying—this creates those irresistible bubbled spots that catch all the delicious toppings.
For another crispy-on-the-outside, tender-on-the-inside treat, don’t miss this sourdough apple fritter bread—perfect with coffee or tea.
How to Serve Authentic Fry Bread Like a Pro
Now that you’ve mastered this authentic fry bread recipe, let’s talk about the best part – serving it up! Whether you go sweet or savory, your homemade fry bread is about to become the star of any meal. This authentic fry bread recipe shines because of its incredible versatility – it’s like a blank canvas waiting for your creative touch.
Traditional & Creative Toppings
The beauty of this authentic fry bread recipe is how it adapts to any flavor profile. For traditional Navajo tacos (my personal favorite), you’ll want:
- 1 lb seasoned ground beef or bison
- 2 cups shredded lettuce
- 1 diced tomato
- ½ cup grated cheddar
- A dollop of sour cream
But wait – there’s more! My twins Lily and Rose go crazy for our “Sunday Sweet Stack”:
- Drizzle of local honey (about 2 tbsp per bread)
- Dusting of powdered sugar
- Handful of fresh berries
- Side of that lavender latte I’m always brewing
If you’re into sweet bread creations, this cinnamon donut bread recipe is another cozy favorite to try next.
Pro tip: For an authentic experience, try the “Navajo taco” assembly – meat first, then cold toppings. The contrast between warm bread and cool veggies is magical!
Meanwhile, if you’re feeling adventurous, here’s my California twist:
- Smashed avocado with flaky sea salt
- Quick-pickled red onions (just 1 hour in vinegar)
- Crumbled cotija cheese
- Squeeze of lime
If you’re a fan of savory stuffed breads like fry bread tacos, you’ll also enjoy this cheesy pepperoni bread roll—perfect for party snacks or hearty meals.

Storing and Reheating Tips
So you made extra of this authentic fry bread recipe? Smart move! Here’s how to keep it tasting fresh:
- Room temp storage: Place cooled fry bread in a paper bag (not plastic!) for up to 2 days. The paper keeps moisture balanced – trust me, I learned this the hard way after a soggy disaster in 2019.
- Reheating magic: Bring back that crispy texture by:
- 30 seconds in a dry skillet (medium heat)
- OR 1 minute in a 350°F oven
- Never microwave – it turns rubbery!
- Freezing option: Yes, you can freeze authentic fry bread! Separate pieces with parchment paper in an airtight container. When ready, reheat frozen in a 375°F oven for 3-4 minutes.
Have extra fry bread? While it’s best fresh, day-old bread can be repurposed too. Try making a bread pudding without eggs for a quick, comforting dessert.
Fun fact: My great-grandmother’s journal mentions storing fry bread in clean flour sacks – the original sustainable packaging! While we don’t do that anymore, it shows how resourceful traditional cooks were.
Here’s a hack from my Navajo friend: If your day-old fry bread seems stiff, lightly brush with water before reheating. The steam brings back softness without making it tough. Just don’t overdo it – we’re reviving it, not bathing it!
And remember: While this authentic fry bread recipe keeps for a couple days, it’s always best fresh. That’s why at our family Pizza Fridays, we often make half the batch savory and half sweet – everyone gets their favorite, and nothing goes to waste.
Now that you’re a fry bread pro from dough to delicious toppings, you’re ready to create your own traditions. Whether it’s taco night with Jake or sweet treats with the kids, this authentic fry bread recipe is about more than food – it’s about connection. Just don’t be surprised when everyone starts requesting it weekly!
FAQs About Authentic Fry Bread Recipe
Can I use milk instead of water in this authentic fry bread recipe?
Yes, but here’s the catch – while milk creates a richer dough, traditional Navajo fry bread typically uses water. If you do use milk, go for whole milk and reduce to 1 1/4 cups since it’s thicker than water. My Navajo friend Maria says this small change still honors the spirit of the recipe while adding creaminess.
Is this authentic fry bread recipe vegan or gluten-free?
The traditional version isn’t either, but you can adapt it:
- For vegan: Stick with water (it’s already traditional!) and use vegetable oilFor gluten-free: Substitute 1:1 with a quality gluten-free flour blend (add 1/2 tsp xanthan gum if your blend doesn’t include it)
Pro tip: These changes make it different from historical versions, but still delicious!
Why doesn’t this authentic fry bread recipe use yeast or eggs?
Great question! Traditional fry bread was born from necessity using simple, shelf-stable ingredients. Yeast wasn’t always available, and eggs were precious. The magic comes from the baking powder lift and proper frying technique. Trust me – you won’t miss them when you taste that perfect crispy-yet-fluffy texture.
What’s the best oil for frying authentic fry bread?
The great debate! Here’s the breakdown:
- Lard: Most traditional, gives incredible flavorVegetable oil: Neutral taste, higher smoke pointPeanut oil: Excellent crispiness but stronger flavor
I alternate between lard (for special occasions) and vegetable oil (for everyday). Just avoid olive oil – its smoke point is too low.
How do I know when my fry bread is cooked perfectly?
Look for these signs:
- Golden brown color (about 2-3 minutes per side)Puffed appearance (it should inflate like a pillow)Crispy exterior that sounds hollow when tappedInternal temp of 190°F if you want to be precise
Remember: If it’s browning too fast, your oil is too hot!
Can I make authentic fry bread dough ahead of time?
Absolutely! Here’s how:
- Prepare dough and divide into ballsLightly oil and wrap tightly in plasticRefrigerate up to 24 hoursLet sit at room temp 30 minutes before shaping and frying
The cold rest actually improves texture – another trick from my great-grandmother’s journal!
Why does my fry bread turn out greasy?
Three common culprits:
- Oil temperature too low (invest in a thermometer!)Overcrowding the pan (fry one at a time)Not draining properly (use a rack, not just paper towels)
Fix these and you’ll get that perfect crisp exterior every time.
What’s the secret to getting that signature puff?
The magic happens when:
- Your dough isn’t overworkedOil is at perfect 350°F temperatureYou don’t flatten the dough too thinYou resist the urge to press down while cooking
When you see that beautiful ballooning effect, you’ll know you nailed it!
